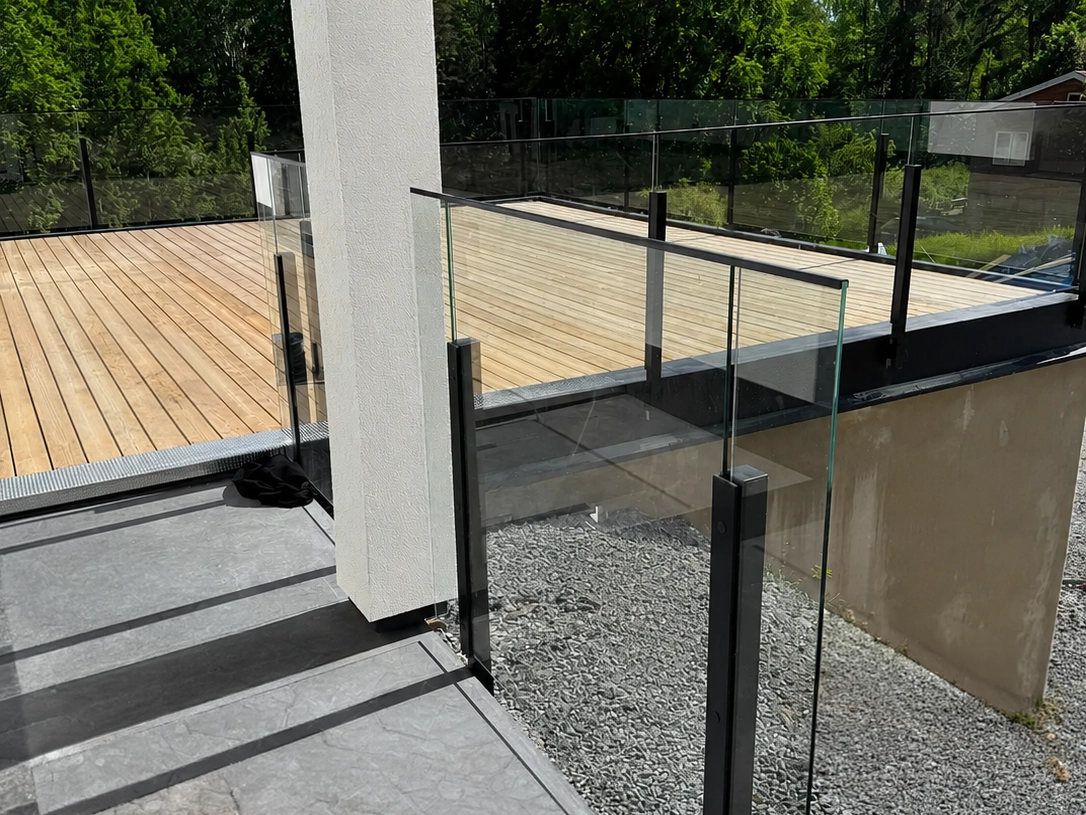
A standard glass railing has posts that support the load and glass that fills the spaces between them. A postless railing has no posts—so something else has to take their place.
What takes center stage is the glass itself and how it’s anchored to the floor. That’s the fundamental difference that explains why a postless glass railing requires thicker glass, a stronger foundation, and costs more than a post-supported system.
Post-free glass railings are available from Balustrade Store under the name “Vista.” In this article, we’ll focus on how this design works, what requirements it entails, and when it’s actually worth the extra cost.
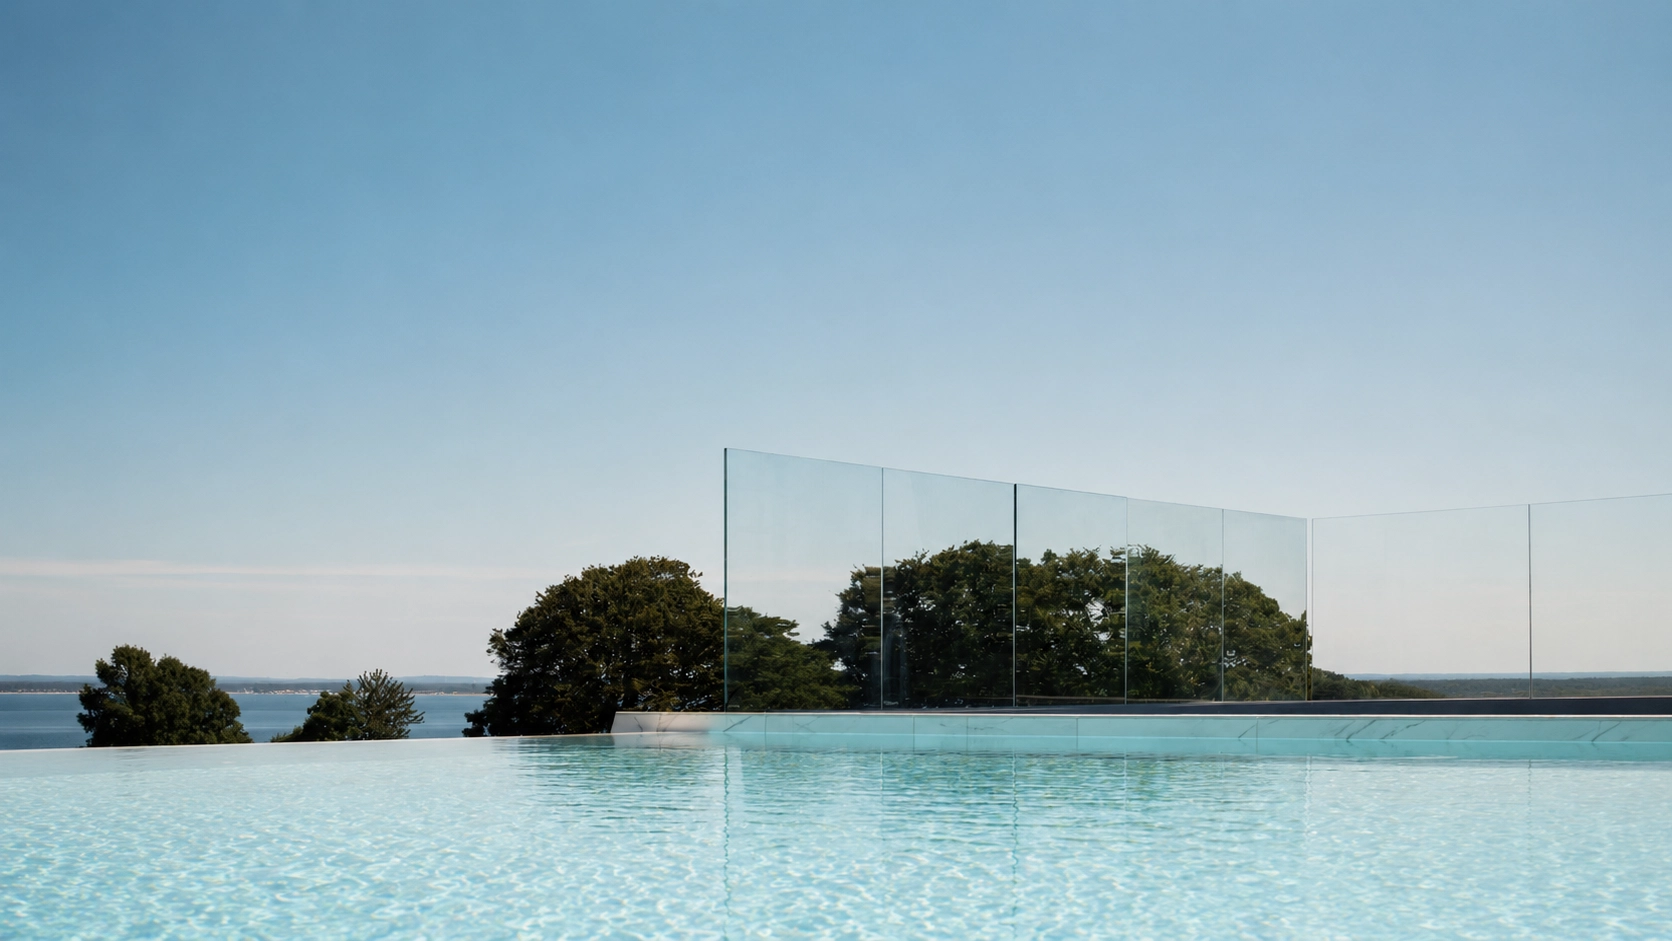
Without the posts, the glass supports everything
The difference between a post-supported and a post-free railing isn't just visible—it also changes how the load is transferred down into the building.
The post bears the load
If someone pushes against the top of the railing, a large portion of the force is transferred to the nearest post and then down through the post base to the ground.
The glass covers the load all the way to the bottom
Without posts, the force is transmitted through the glass itself down to the rail and the mounting bracket. The entire height of the railing acts as a lever.
That is why glass thickness, mounting, and the substrate are all interrelated. It is not possible to evaluate a post-free railing simply by looking at the glass panel.
The Glass
When the posts are removed, the glass takes on a much greater role. It must not only fill the gap in the railing, but also transfer the load down to the mounting point.
Vista uses 12.76 millimeters of tempered and laminated glass: two 6-millimeter glass panes with a film layer in between.
Since there are no posts to absorb the force, the glass panel must function as part of the load-bearing structure.
If one of the glass panes is damaged, the interlayer helps hold the glass together instead of creating an open gap right away.
In a post-free railing, the glass panel itself is a key component of the fall protection system. Therefore, the combination of tempering and lamination is particularly important when the railing has no posts.
Learn more about tempered and laminated safety glassTwo ways to attach the glass
Post-free glass can be mounted using a continuous aluminum track or separate point fasteners. Both methods leave the glass free of posts, but they transfer the load to the substrate in different ways.
| System | Here's how it works | Suitable for |
|---|---|---|
| 01 Aluminum rail | A continuous track is mounted on top of the floor, and the glass is wedged into the profile. | Long, straight sections and curves. The load is distributed along the length of the track. |
| 02 Fixpoint | The glass is held in place by separate point fixings that are mounted in the floor or from the side. | Shorter sections and areas where a rail becomes too visible. The load is supported at individual points. |
The glass panels are placed in the profile and secured with wedges. Custom angles are used at the corners so that the track can continue around the corner with a clean joint.
Unlike point fastening, the load is not concentrated at just a few attachment points. This can make the rail system more tolerant when the properties of the subgrade vary along the route.
Color of the rail
When the posts are removed, the rail becomes the metal component that most clearly defines the railing’s appearance. That’s why the color can make a big difference, even though the profile itself is low-profile and unobtrusive.
The rail has an anodized surface layer 20 micrometers thick. Anodizing reinforces the aluminum's natural oxide layer and provides a durable surface that withstands the elements without needing to be repainted.
In addition to the standard finishes, the rail can be painted in over 200 RAL colors. This makes it possible to match the railing to, for example, window frames, door frames, or other metal details on the house.
If you choose an aluminum top rail, it will be painted the same color as the rail, so that the top rail and mounting bracket appear as a single, cohesive part of the railing.
Crossbar or not
A post-free glass railing can be left completely open at the top or supplemented with a narrow aluminum profile. This choice primarily affects the overall feel, the grip, and how well the glass edge is protected.
Unframed glass edge
It creates the cleanest and most minimalist look.
No profile obstructs the upper line of sight through the glass.
Perfect for when a pillar-free feel is your top priority.
U-shaped aluminum profile
The profile is glued to the top of the glass and provides a better grip.
The narrow dimension has relatively little effect on the line of sight.
The aluminum profile is painted the same color as the track.
The trim protects the edge of the glass and provides a smooth top surface that is easier to grip and wipe down. This can be an advantage on patios, balconies, and rooftop terraces, for example.
When It's Worth the Extra Cost
A post-free glass railing costs more than a post-supported glass railing. The additional cost is primarily due to the thicker glass and the structural design required to support the load without posts.
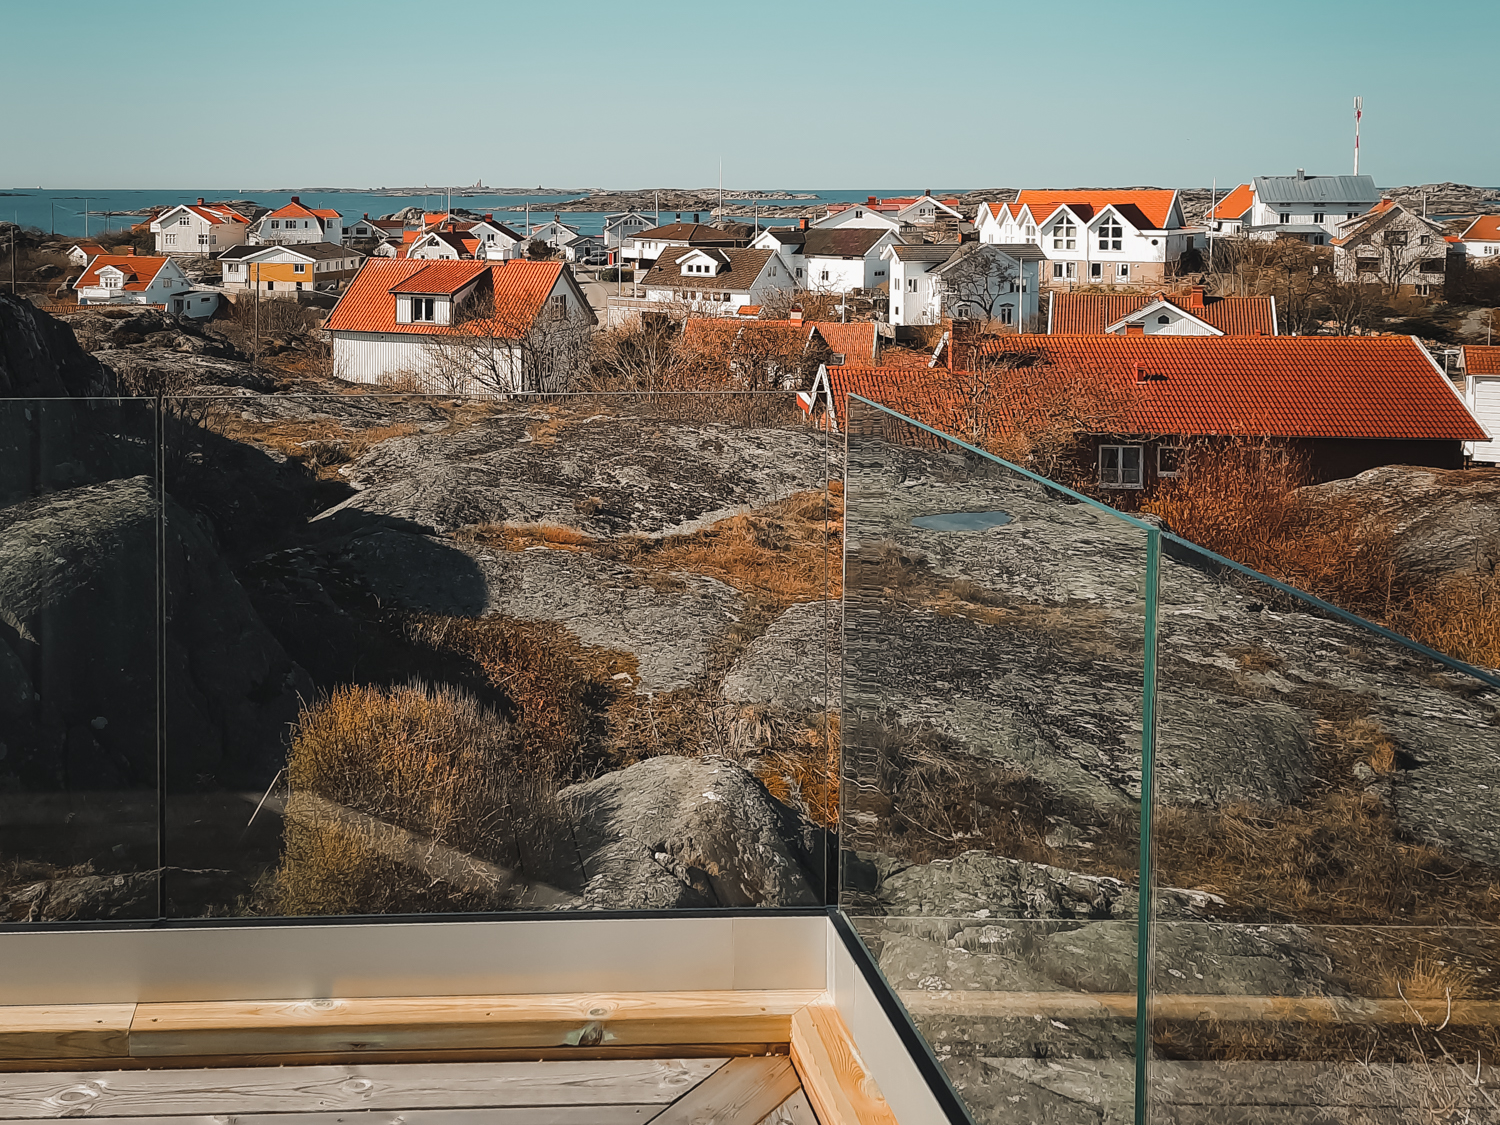
Whether facing water, open countryside, a valley, or from a rooftop terrace, poles can detract from exactly what you want to preserve. That’s where the pole-free design really shines.
On small balconies, lofts, and terraces, posts can visually divide an already limited space. Clear glass without posts makes the room feel more open.
If the railing is positioned against a hedge, fence, or nearby buildings, an unobstructed line of sight is less important. In such cases, a post-supported glass railing with narrow profiles can provide a similar overall appearance at a lower cost.
The more important the view is, the greater the benefit of a post-free railing. If the railing isprimarily intendedas fall protection around an area where visibility is limited anyway, there are often more cost-effective alternatives.
Here's how to do it—step by step
For a post-free railing, it’s best to start from the bottom. First, check what the rail or point fasteners will be anchored to—then you can move on to measurements, height, and design.
-
Start here
Find out what's under the floor
Check the entire length of the area where the rail or mounting bracket will be installed. The finished floor surface does not always indicate what the rail can actually be anchored to.
-
Background Information
Ensure that the material is load-bearing
Concrete or a sturdy load-bearing wooden stud provides the right type of substrate. Deck boards, drywall, or other surface layers are not sufficient on their own as a mounting surface.
-
Dimensions
Measure the distance and mark the corners
Measure each straight section separately and note where the rail changes direction. The placement of the corners affects both the glass panels and the rail system.
-
Height
Determine the height of the railing
The height is part of the design process and affects the load on the glass and the mounting hardware. Therefore, determine the height before the system is finally designed.
-
Mounting
Select "Rail" or "Fixpoint"
Aluminum tracks are particularly well-suited for longer straight sections and around corners. Point mounts can be an alternative for shorter sections or where you want the track to be as inconspicuous as possible.
-
Top Edge
Decide if you want a crossbar
A bare glass edge creates the cleanest look. A U-shaped aluminum profile, on the other hand, provides a more secure hold and extra protection for the glass edge.
-
If you are unsure
Check the quality of the substrate
If the quality of the concrete, the joist, or the existing structure is unknown, the fastening must be evaluated before the railing is ordered. A postless system relies on the load actually being transferred to the load-bearing structure.
Would you like to know if your subfloor can support a postless railing?
Please tell us what the floor and the supporting structure are made of, how long the run is, and whether the railing has corners. Then customer service can help you determine which solution is right for you.
Please include a photo showing the floor, the edge, and the intended railing line.
Frequently Asked Questions About Postless Glass Railings
Here are the most common questions about glass, mounting surfaces, installation, and when a postless railing is the best choice.
How does a post-free glass railing work?
The glass bears the entire load and is supported by a track or point-mounted brackets in the floor. There are no posts to distribute the force.
What kind of glass is required?
12.76-millimeter tempered and laminated glass, consisting of two 6-millimeter panes with a plastic film in between.
What are the requirements for the substrate?
Concrete or heavy-duty wooden joists. Deck boards, drywall, and thin tiles of unknown quality will not work.
What is the difference between a rail and a fixed point?
The rail distributes the load along its entire length, while the fixed point supports it at individual points. The rail is more forgiving of uneven ground.
Do there have to be crossbeams?
No. The open top is the simplest version. A U-shaped aluminum profile measuring 20 × 30 millimeters is available for those who want a grip.
Is it more expensive than a regular glass railing?
Yes, and the additional cost is almost entirely due to the thicker glass.
When is it worth it?
When the view is the main attraction of the space, or in small areas where posts visually divide the space.