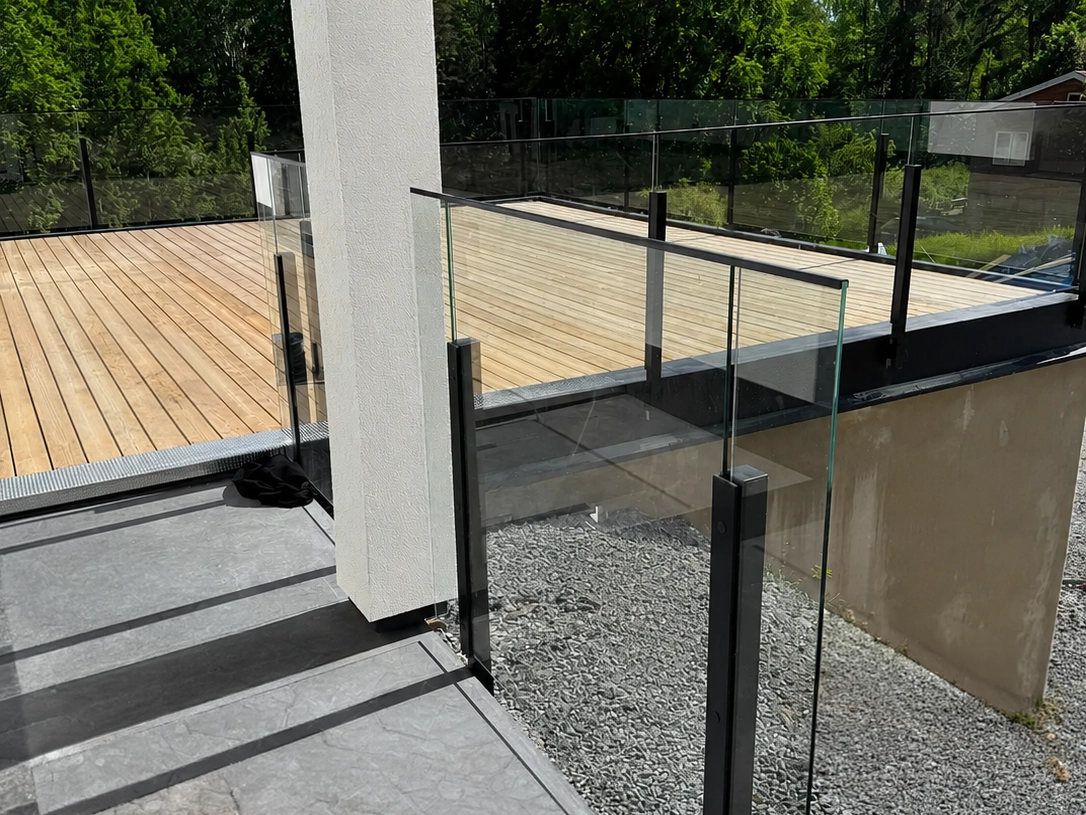
Installing a railing on an existing deck is one of the most common projects out there—and the hardest part isn't the installation itself.
It's important to find out what the balcony is actually made of before you decide on anything.
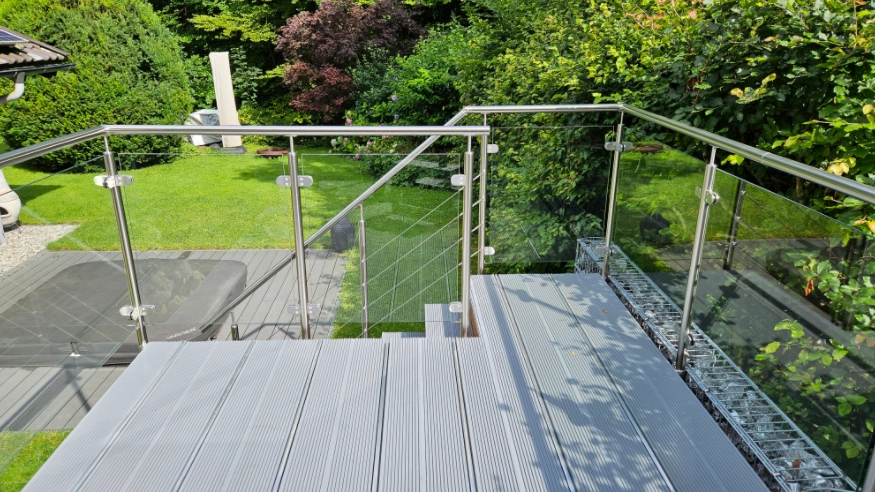
Start under the deck, not on top of it
A railing is only as strong as the structure supporting it. With an older deck, you rarely know exactly what the substructure looks like or what condition it’s in, so the first step is to inspect the joists before deciding on the post locations and mounting points.
-
Where the joists run
Find out how the floor structure is built and where the load-bearing joists are located in relation to the section where the railing will be installed.
-
If the wood is sound
Pay special attention to end grain, joints, and other areas where moisture may have accumulated. Soft or damaged wood must be repaired before a railing is installed.
-
If there's something to attach it to
Check to see if there is load-bearing material where the posts need to be placed. If there isn't, the post location may need to be moved or the structure reinforced.
So take a look at the structure before you consider the placement of the railing. Once you know what’s underneath the deck,it becomes much easier to determine which post locations and fastenings are actually possible.
Check the floor joists before placing your order
Rot often starts where moisture remains for a long time. On an older deck, it’s therefore a good idea to check the most vulnerable areas before you plan a new railing.
-
End grain Cut ends easily absorb moisture and are particularly vulnerable if they dry slowly.
-
At the connection to the house Check the studs and fasteners where the deck meets the facade.
-
Where joists rest on supports Piers, beams, and other supports are points where water can pool.
Test the wood in a few different places, especially where it looks dark, cracked, or damaged by moisture.
Does the tool go into the wood unusually easily? If so, the wood may be infested and should be inspected or treated before the railing is installed.
The railing is not the first thing that should be repaired if the substructure is in poor condition. This test is a simple initial check—if you’re unsure about the condition of the joist floor,the structure needs to be assessed before it’s loaded with a new railing.
Where the joists run
The rows of screws in the decking show where the joists are located, since the decking boards are screwed into them. Follow the row along the deck to get a good idea of the joist layout before you decide where to place the posts.
Follow the row of screws down to the structure
Mark the rail positions along the section where the railing will be installed. This will show you which planned posts are already positioned over load-bearing materials—and which ones need to be adjusted.
The Right Screw for Your Environment
The fasteners must be able to withstand both the outdoor environment and the material into which they are installed. On an existing wooden deck, it is therefore important to choose screws with the proper corrosion protection—especially in pressure-treated wood and in exposed environments.
| Quality | Best for | Keep in mind |
|---|---|---|
| Standard galvanized | Should be avoided in exposed outdoor installations | Standard galvanization does not provide the same corrosion protection as stainless steel or fasteners with a documented high corrosion resistance rating. |
| A2 Stainless Steel | Normal outdoor environments and more sheltered locations | A common choice for outdoor installation in environments where the atmosphere is not particularly salty or corrosive. |
| Acid-resistant A4 | Coastal locations, a pool, and a salty environment | The safer choice when the structure is exposed to salt, high humidity, or a more corrosive environment. |
If you live near the coast or have a pool with a saltwater filtration system, the A4 should be considered your first choice, not an unnecessary upgrade.
Always check the railing system’s installation instructions. The screw material is only one factor to consider—the size, strength, and embedment depth must also be suitable for the supporting structure.
Measures regarding areas where young children may be present
Unlike railing height, there are still precise dimensions for child-safe design. These apply to areas where children under the age of six—given the nature of the space—can be expected to be present without constant adult supervision.
Prevent Climbing
0.8 meters of the guardrail's height must be designed to prevent climbing. Horizontal crossbars and other parts that could provide a child with a secure foothold must therefore be given special consideration.
Prevent falling through
Vertical openings in the guardrail may be no more than 100 millimeters wide. This dimension is intended to prevent a young child from squeezing through the openings in the guardrail.
Must not occur
Horizontal openings above the front of the guard must not be present in this size range. This requirement is intended to prevent the risk of a young child getting their head stuck.
Balcony and Staircase
The clearance between the bottom edge of a balcony railing and the balcony floor, as well as between the bottom edge of a stair railing and the nosing of the stair tread, must not exceed 50 millimeters.
There is no general 50 mm requirement for the bottom edge of all balcony railings. The regulation specifies the measurement specifically between the bottom edge ofa balcony railing and the balcony floor, as well as between the bottom edge of a stair railing and the tread of the stair.
Read the National Board of Housing, Building, and Planning's guidelines on railings and handrailsGlass and vertical panels are often easier to design without obvious opportunities for climbing. Railings with horizontal bars, struts, or other components that could serve as footholds, however, require special consideration when younger children may be present.
Fence or picket fence?
If you build a dense structure to block the view, the structure may be classified as a screen rather than a fence, in which case the permitting requirements change.
Transparency is very important in practice, but there is no fixed percentage that alone determines the threshold. A more open fence of moderate height is often exempt from building permit requirements, while a denser fence more often needs to be assessed based on building permit regulations.
More open and transparent
A fence has distinct openings and is perceived more as a boundary than as a solid barrier.
- Air and visibility can pass through the structure.
- Often serves as a railing, a barrier, or a marker for a property line.
Tighter and more shielding
A plank fence offers less transparency and functions more as a continuous screen against prying eyes, wind, or passage.
- Provides better privacy and has a greater impact on the surroundings.
- This may therefore affect the permit application, especially near the property line.
The building permit regulations were amended on December 1, 2025. If the structure can be classified as a fence, you need to check whether a permit is required based on factors such as height and location. If you are unsure, you should contact the building board before placing an order. Read the National Board of Housing, Building and Planning’s guidance on fences .
Here's how to do it—step by step
Start under the deck and work your way up. Once you’ve inspected the joists, it will be easier to position the posts correctly, reinforce where necessary, and choose a fastening method that suits the structure.
-
Check the wood under the deck
Crawl under the deck and inspect the joists with an awl or screwdriver. Pay special attention to end grain, the points where the joists are attached to the house, and where the joists rest against supports.
-
Find the rules
Follow the rows of screws in the deck. They usually indicate where the joists are located, since the deck boards are screwed into the supporting structure.
-
Draw the pole positions
Mark where the railing posts will go and compare their placement with the joists beneath the deck. That way, you'll see which posts are already positioned over load-bearing members.
-
Reinforce where the stud misses a rafter
Install a cross-brace between the existing beams where necessary. In some cases, the post can instead be moved slightly or secured using a side mounting on the edge beam.
-
Choose the screw grade based on the environment
Use A2 stainless steel in normal outdoor environments and choose A4 for coastal, salty, or particularly corrosive environments. At the same time, check which fasteners the railing system is designed to be installed with.
-
Create a small air gap under the base of the post
Use a thin spacer or a suitable pad so that the post base does not rest directly against the deck or concrete. This makes it easier for water to drain away and for the contact surface to dry.
-
Check the railing after installation
Check all fasteners and gently apply lateral pressure to the railing to detect any play or movement. Always follow the railing system’s installation instructions during the final inspection.
Ready to choose a railing for your balcony?
Once you’ve inspected the joists and know how the railing can be anchored, you can move on to comparing railings for your balcony and patio. If you’re unsure about the mounting, you can send a photo taken from below to customer service, and we’ll help you assess the situation.
Frequently Asked Questions About Railings for Existing Patios
Here you'll find brief answers about joists, studs, fasteners, screws, railing height, and building permits.
Is it possible to install a railing later on?
Yes, but the installation requires more planning than in a new construction. The joists are rarely positioned exactly where the posts should go, so start by checking the floor structure and planning the post locations based on the load-bearing structure.
How do I check to make sure the floor joists are sound?
Insert an awl or screwdriver into the wood in several places, especially at the ends, where it’s attached to the house, and where the studs rest against supports. If the tool goes in easily, the wood may be infested and should be inspected before installing a railing.
How do I find the joists under the deck?
Follow the rows of screws in the deck. The deck boards are usually screwed into the joists, so the rows serve as a good initial guide to where the load-bearing structure is located.
What should I do if there isn't a rule about where the pole should be placed?
You can move the post slightly, install a short support beam between the existing beams, or, in certain structures, use a side mount on the edge beam. The post must be anchored in load-bearing material and not just in the deck board.
Which screw should I use?
A2 stainless steel is suitable for many typical outdoor environments, while acid-resistant A4 is a better choice in coastal, salty, or particularly corrosive environments. Always check which fasteners and dimensions are specified for the railing system you are installing.
What should the height of the railing be?
The regulations do not specify a general minimum height for guardrails. Instead, the height and design of the guardrail must be adapted to factors such as the fall height, intended use, and the risk of injury at the site.
Is a building permit required for the balcony railing?
An open railing or fence does not normally require a building permit simply because it is a railing. However, if the structure is solid and deemed to be a fence, building permit regulations may apply. The assessment is influenced by factors such as design, function, height, and location, so check with your local building authority if you are unsure.